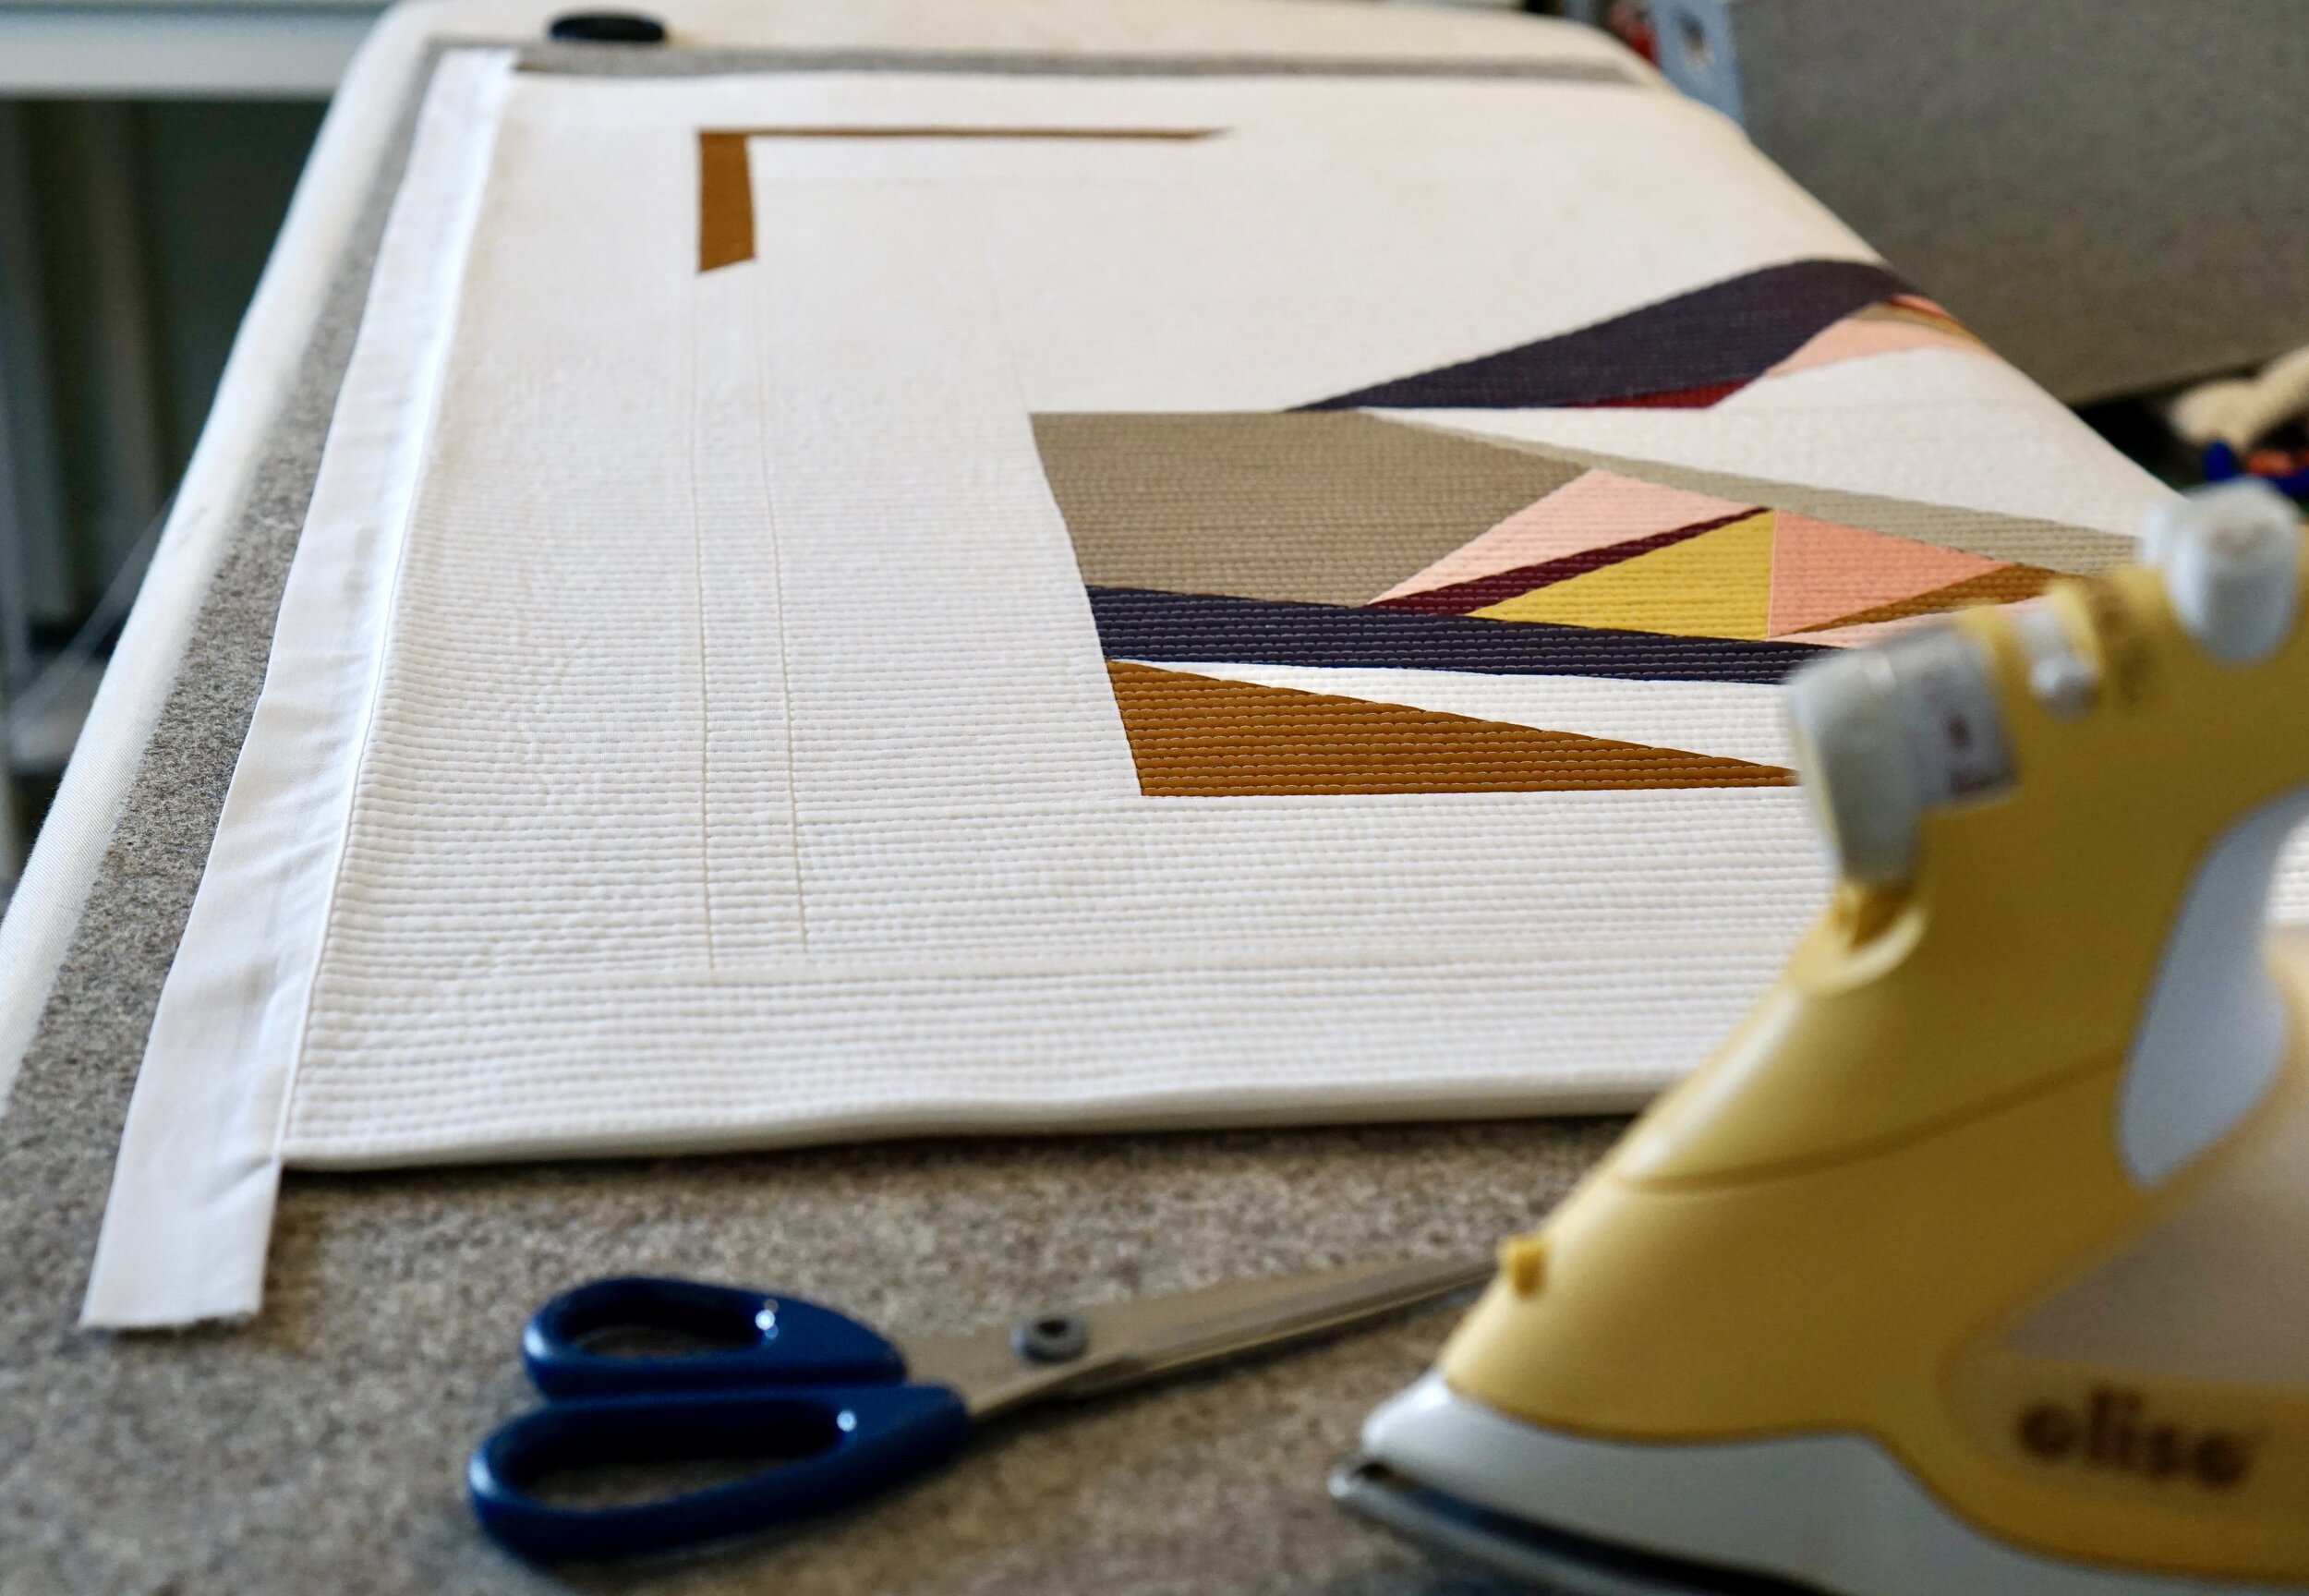
Let’s do a quilt facing tutorial… shall we? I love the look of a faced edge on a quilt versus a traditional binding. For a wall hanging or art quilt, it creates a nice smooth edge against the wall. If any of the quilt top piecing comes right up to the edge of the quilt, it gives the illusion that it fades off the side of the quilt instead of hitting a hard stop at the binding. A facing also saves the trouble of a pieced binding to match those seams. I talk through this process in the Quilt Facing highlight on Instagram if you prefer to hear me talk through these steps; same process, different quilt example.
There are many tutorials that can be found for a quilt facing; by no means did I come up with this completely on my own. However, I have found through experimenting with many versions of quilt facing that this combination of steps works nicely for my quilts.
Materials used in this tutorial:
Iron
Pressing mat
Glass head pins
Scissors
Quarter inch foot
Stitch in the ditch foot
Facing fabric
Thread that matches the facing fabric
Hand stitching needle (I love the Bohin Size 9 Milliners needle and Clover Binding Clips for binding!)
Fabric choice: I will typically match my quilt back to the outmost edge of my quilt top. As a result, I’ll always use the same fabric for my facing strip as well, this way all three (quilt top, quilt back, and facing strip) will match. At a minimum, I would match my facing to my quilt back for the most cohesive appearance on the back.

Step 1 - Start with four strips of your facing fabric cut 2 inches wide x length of your quilt + 4 inches.
For example, if your quilt is 40 x 40, cut 4 strips 2 inches x 44 inches. If you need to piece these strips, I suggest piecing them with a diagonal seam and press the seams open. This will reduce the bulk of your seam as you move forward.
Press the strip edge over 1/2 inch for the full length of the strip. You can estimate this measurement; it doesn’t have to be exact, but you do want to have a nice crisp pressed edge - I use steam. This tutorial uses Kona Snow for the facing, which does not have a right or wrong wide. If you are using a fabric that has right and wrong sides, press the strip wrong sides together.
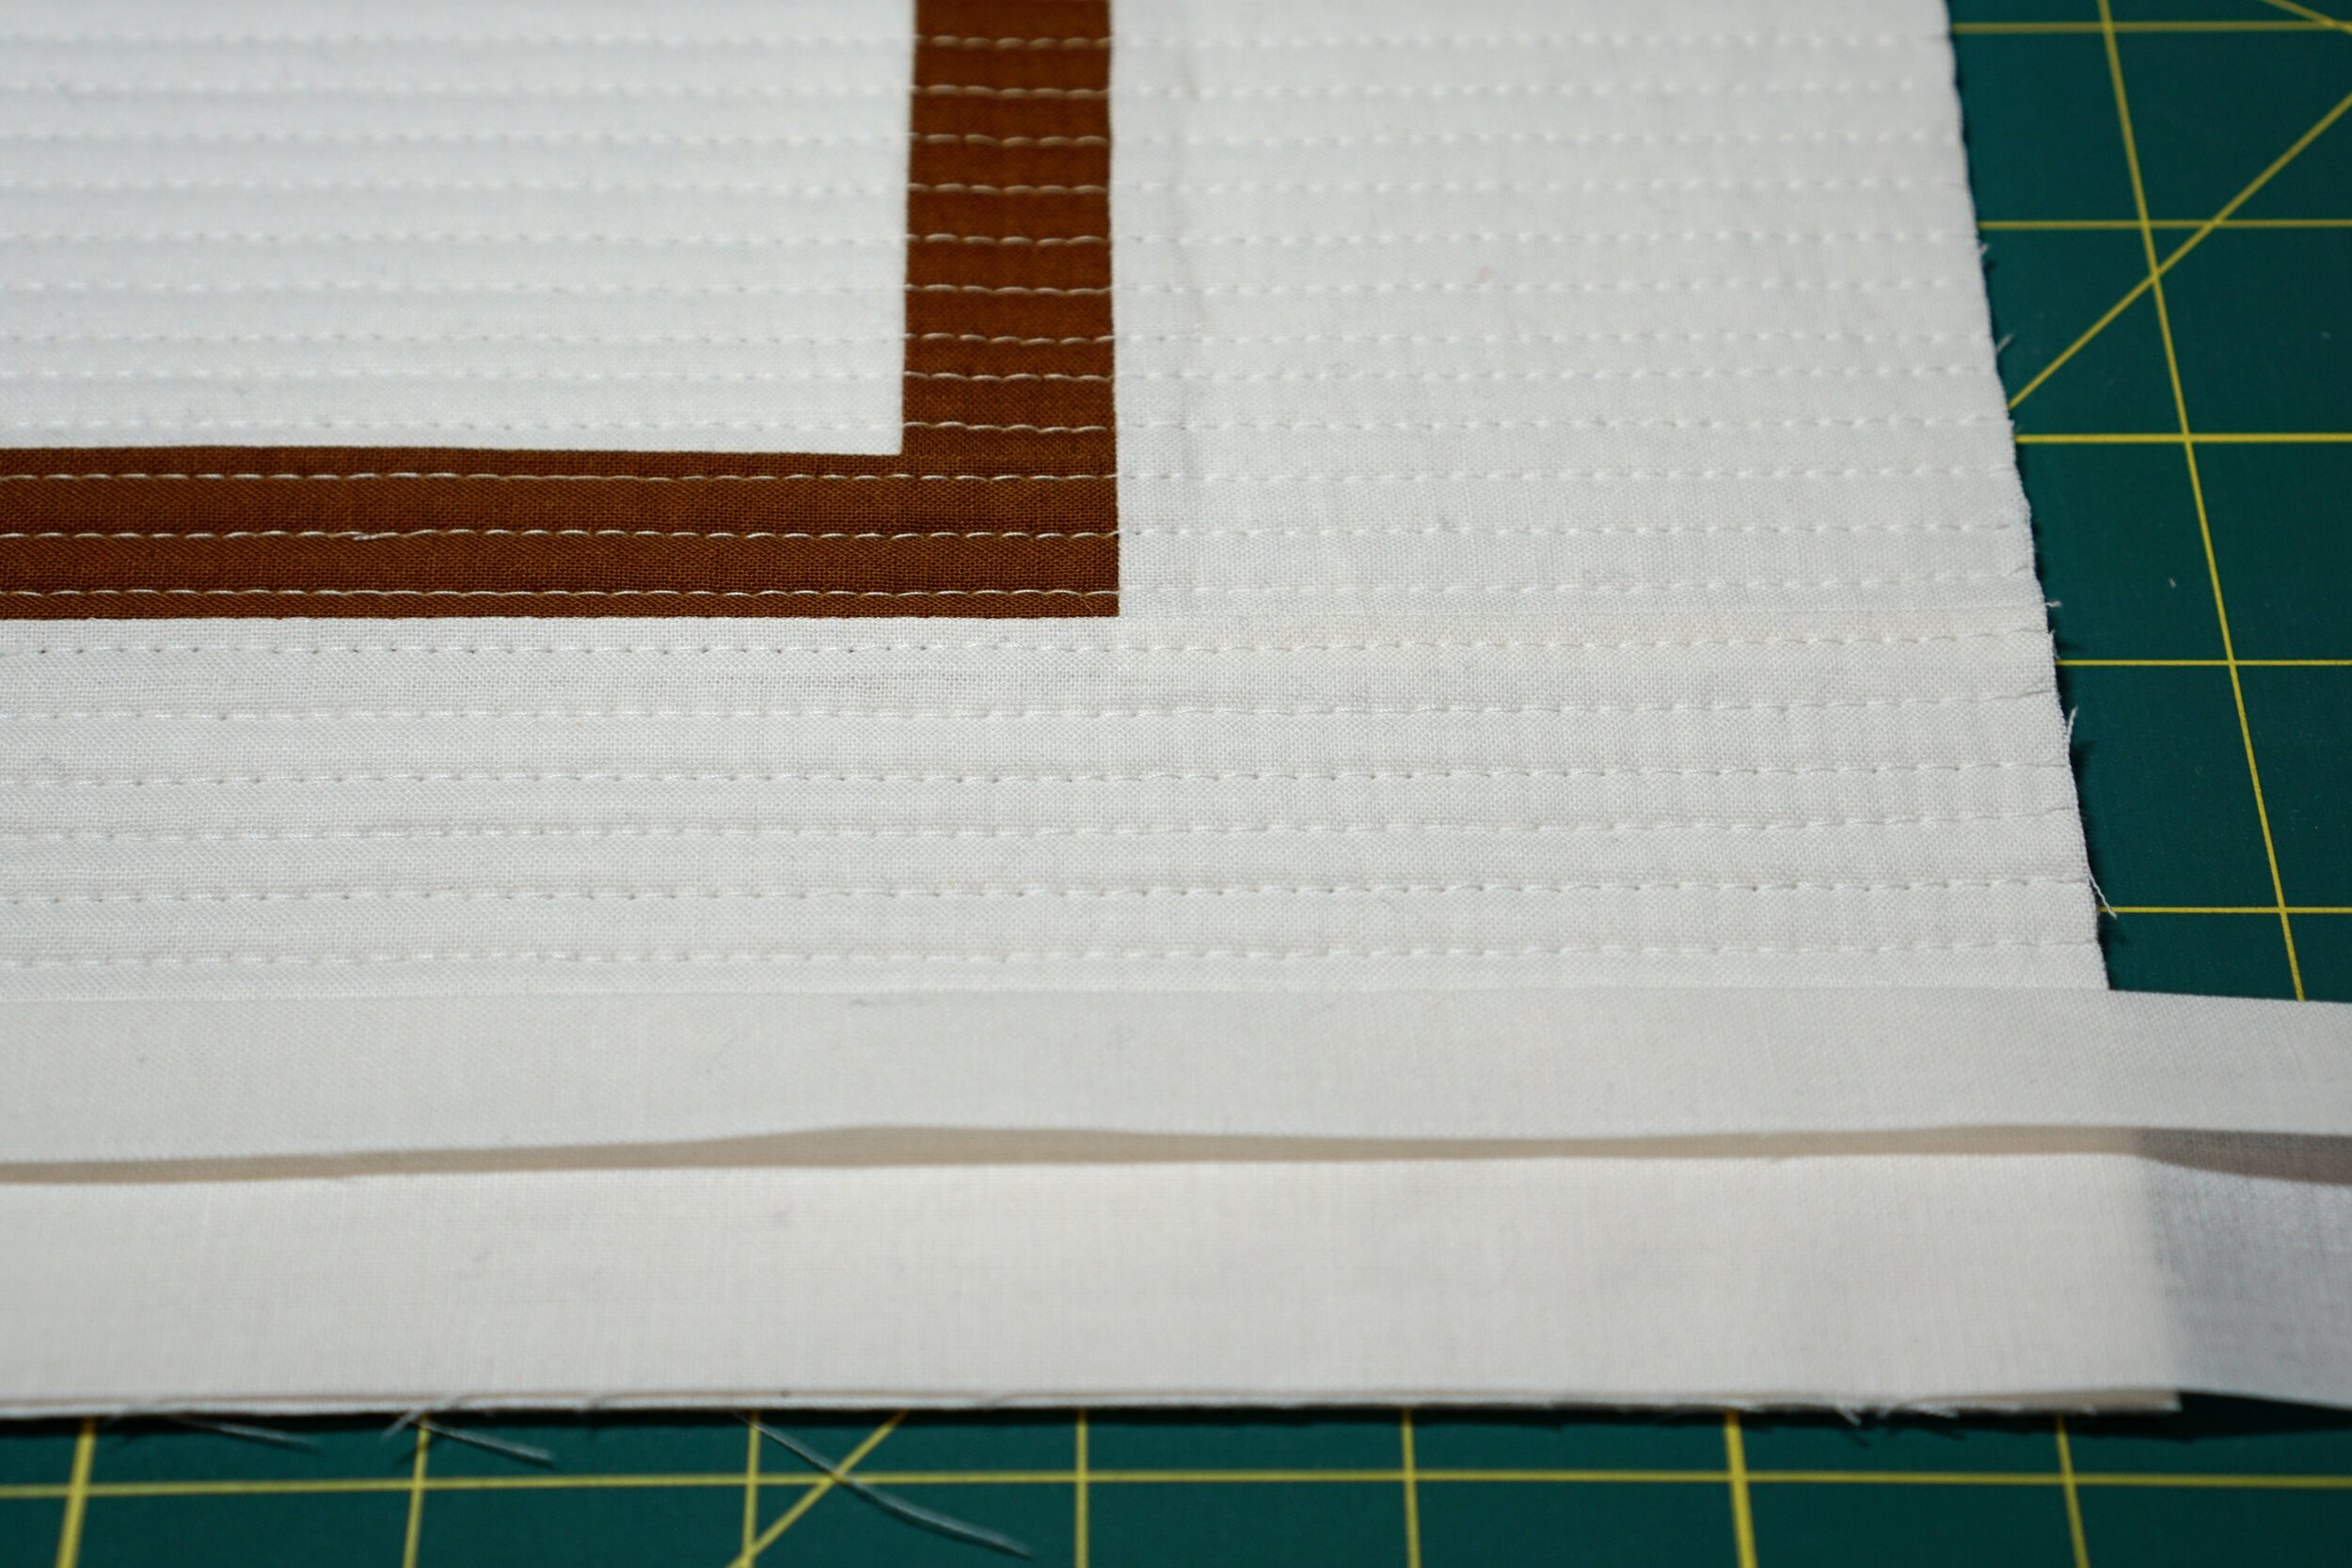
Note: For these photos, the facing strips that run parallel with the quilting lines represent the top and bottom of the quilt. The facing strips that run perpendicular to the quilting lines represent the sides of the quilt. This might help keep orientation clear as we move through the tutorial.

Step 2 - Place your quilt on your workspace where the quilt is oriented quilt front up, quilt back down. Position the facing strip as seen below on the top and bottom edge of the quilt. Make sure to leave a 2 inch tail when beginning your stitches.
Step 3 - Stitch your facing strip down using a 1/4 inch seam. Try and use a thread that matches your quilt top and facing strip. Backstitch at the start and end of your stitching line.

Step 4 - Double check before moving forward, you should have a facing strip attached to the top and bottom of the front side of your quilt. See below for reference.

Step 5 - Press the facing strip away from your quilt. (I use steam!) Make sure to maintain where you pressed the strip over 1/2 inch. Make sure the bulky seam allowance from your quilt sandwich is continuing to lay nice and flat.
Step 6 - Attach the stitch in the ditch foot, then move the needle position 3 positions to the right (see photo below), which makes the stitching line about 1/8 inch away from the seam where I attached my facing. Stitch using these settings the length of the facing strip on the top and bottom. If you did a good job pressing in Step 5, you won’t have any trouble with the fabric wrinkling, puckering, or wanting to shift around on you.
I sew with a Bernina sewing machine, so the foot you see below (#10) is a edge stitching foot, more commonly referred to as a “stitch in the ditch” foot by quilters. It has a little metal bar that rides in the ditch and keeps your stitching line steady. Your machine might be different, so do a quick test before starting!
This achieves two things: 1) This is an old tailors trick to help seams fold back and stay back when pressed. 2) This reinforces the facing strip attachment to the seam allowance, making the facing more sturdy. It is an extra step but in my opinion, worth the time. I match my top stitching thread to my facing strip color - this line of stitching will be visible once the quilt is finished.

Below, I’m just showing the needle down position so it is visible how the stitching line is to the right of the ditch, but still catching the seam allowance shadow beneath.

Step 7 - Take your quilt to the ironing board (quilt back up this time) and turn & press the facing strip to the back of the quilt. The pressed edge from Step 1 will lay flat against the back of the quilt. Below is how your facing strip will look once it’s pressed to the back.
(If you didn’t fold that over at the beginning, you’d be trying to press a consistent straight line now, when the strip is already attached to your quilt. It’s much better to press as suggested in Step 1. Your iron is your best friend for this process.)

Here is another angle, quilt back is up, quilt front is down against the pressing mat, and you can see the edge stitching line helping keep that facing strip folded to the back.

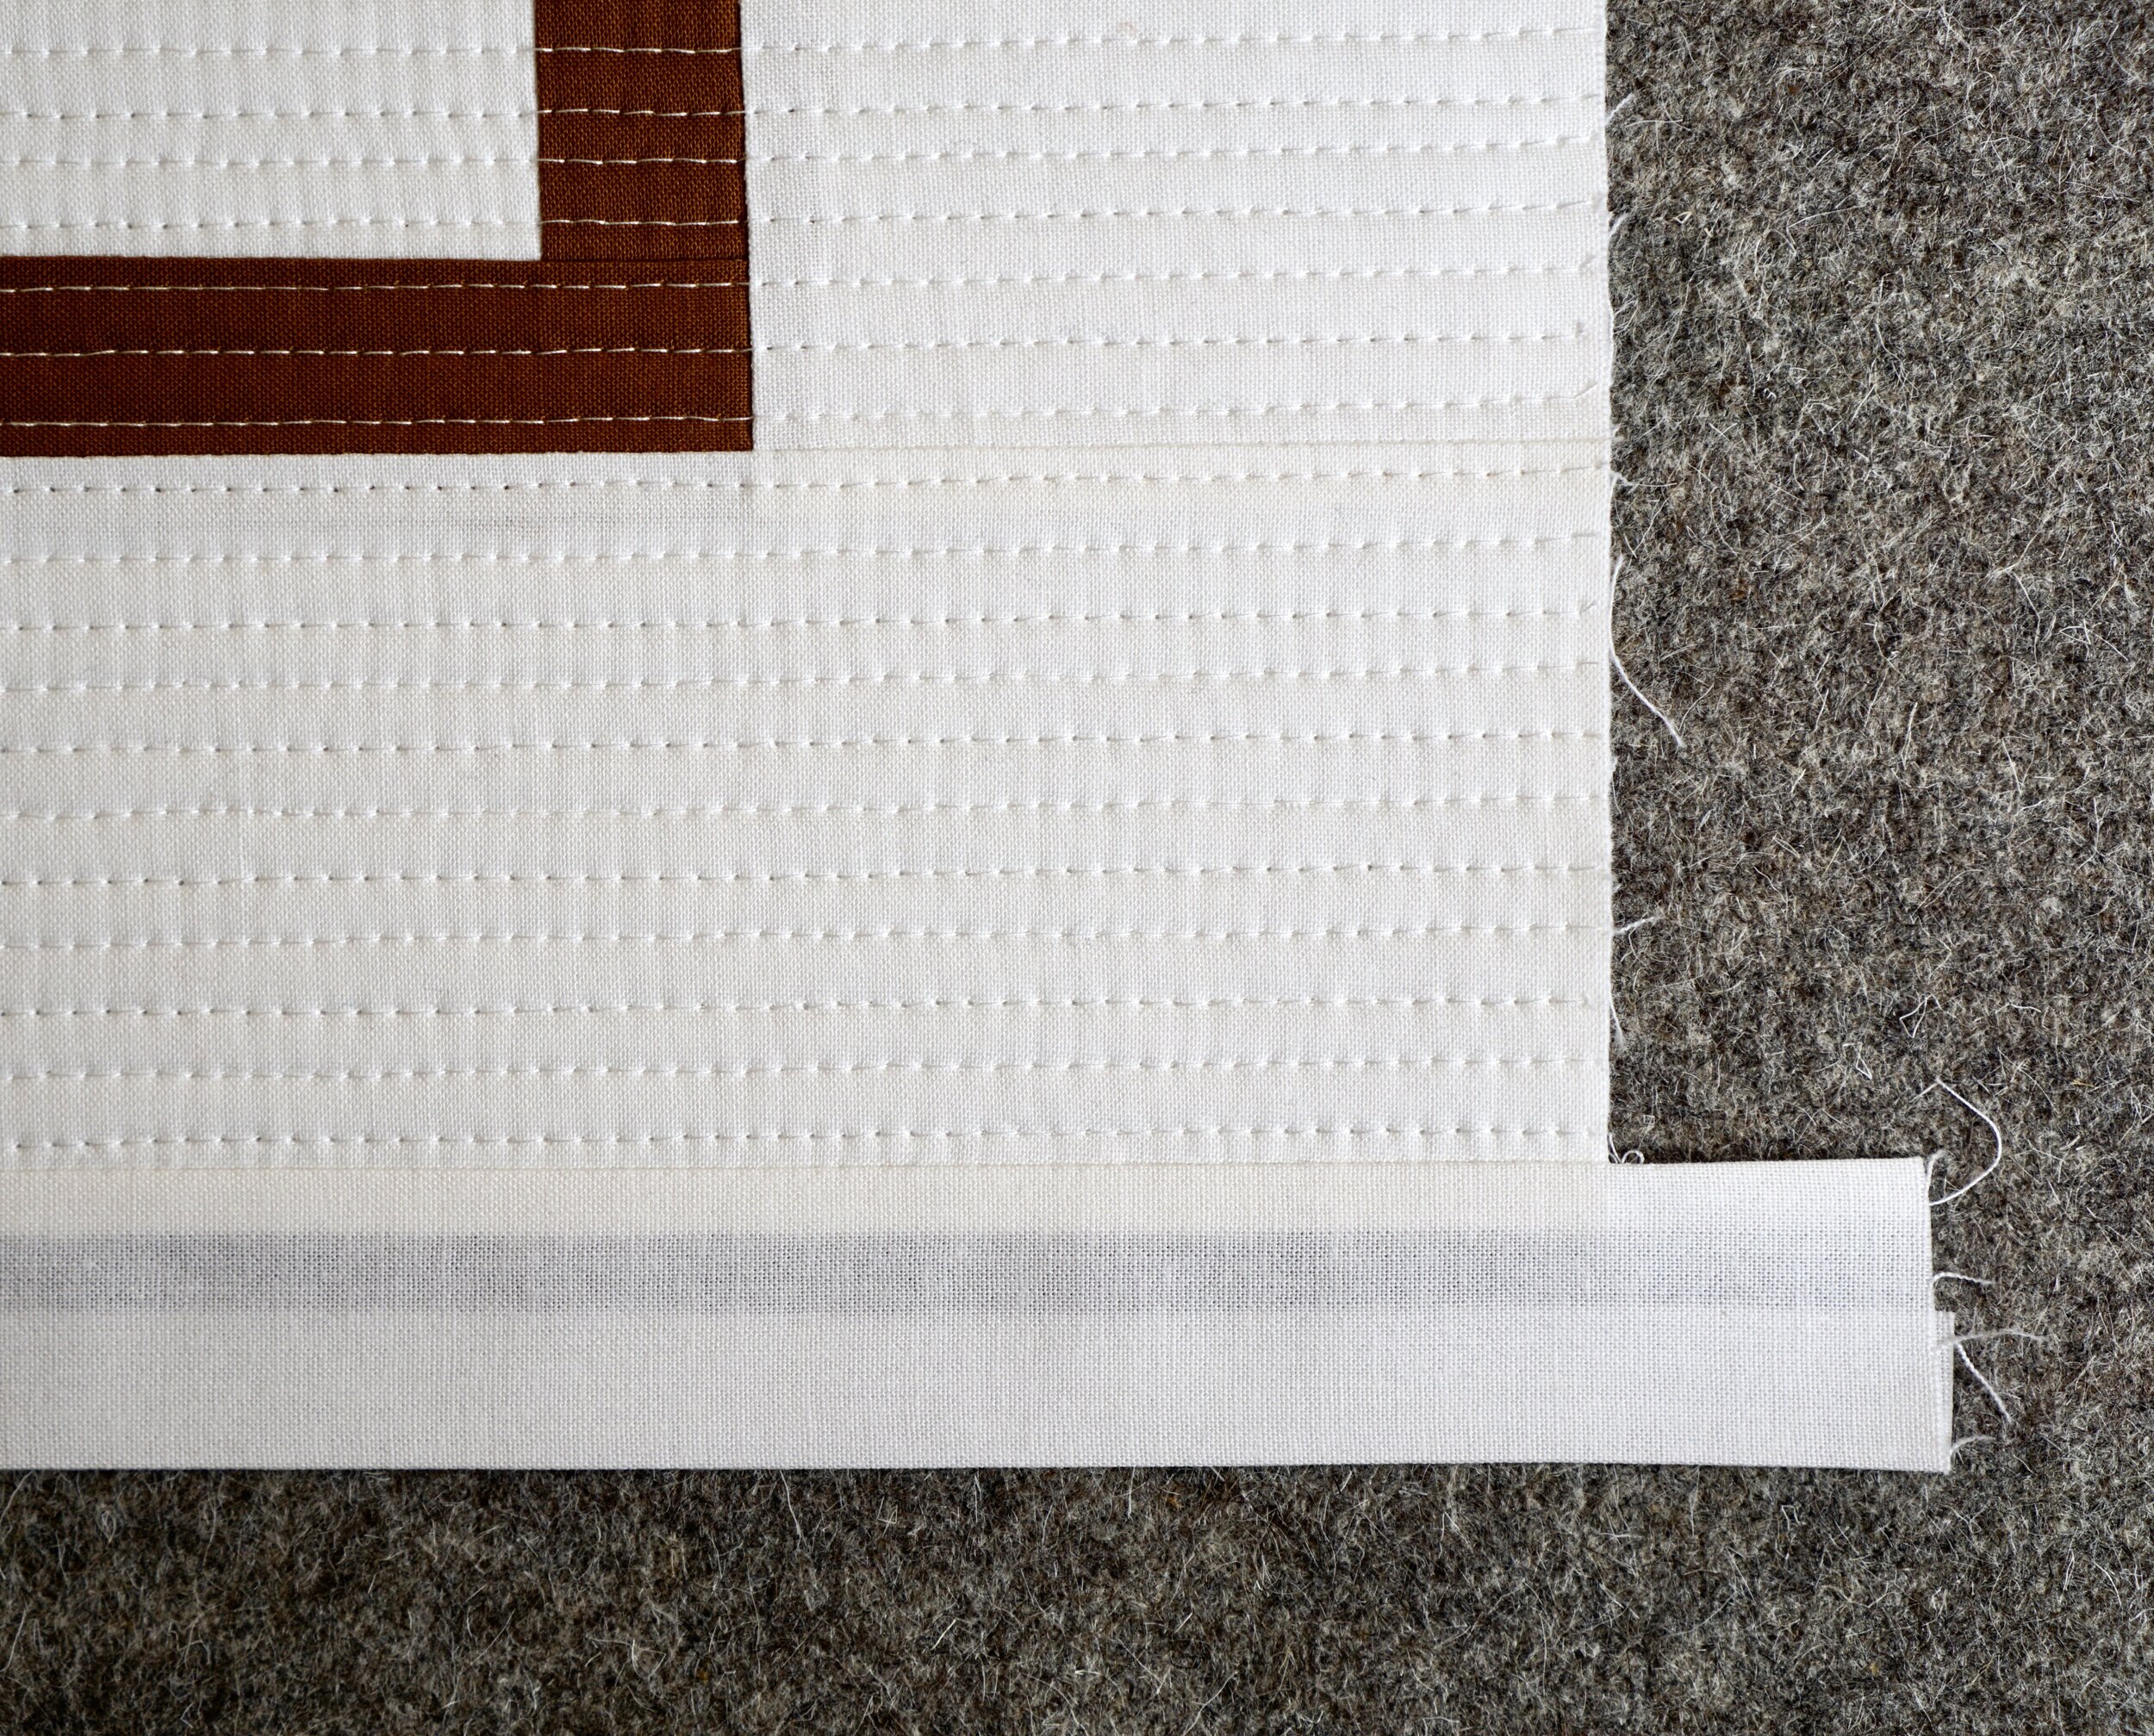
Step 8 - Trim the top and bottom facing strips even with the edge of your quilt. Pin as shown to make sure the strips stay flat when you sew on the side facing strips.
HEADS UP! - you DID trim the top and bottom facing strips even with your quilt’s edge. You WILL NOT trim the facing strips you attach to the sides.

Step 9 - Place your side facing strips on your quilt top and position as shown. Start sewing with a 2 inch tail. Back stitch at the start and the finish of your seam.
Remember, if you’re using a print, make sure your fabric right sides are together.

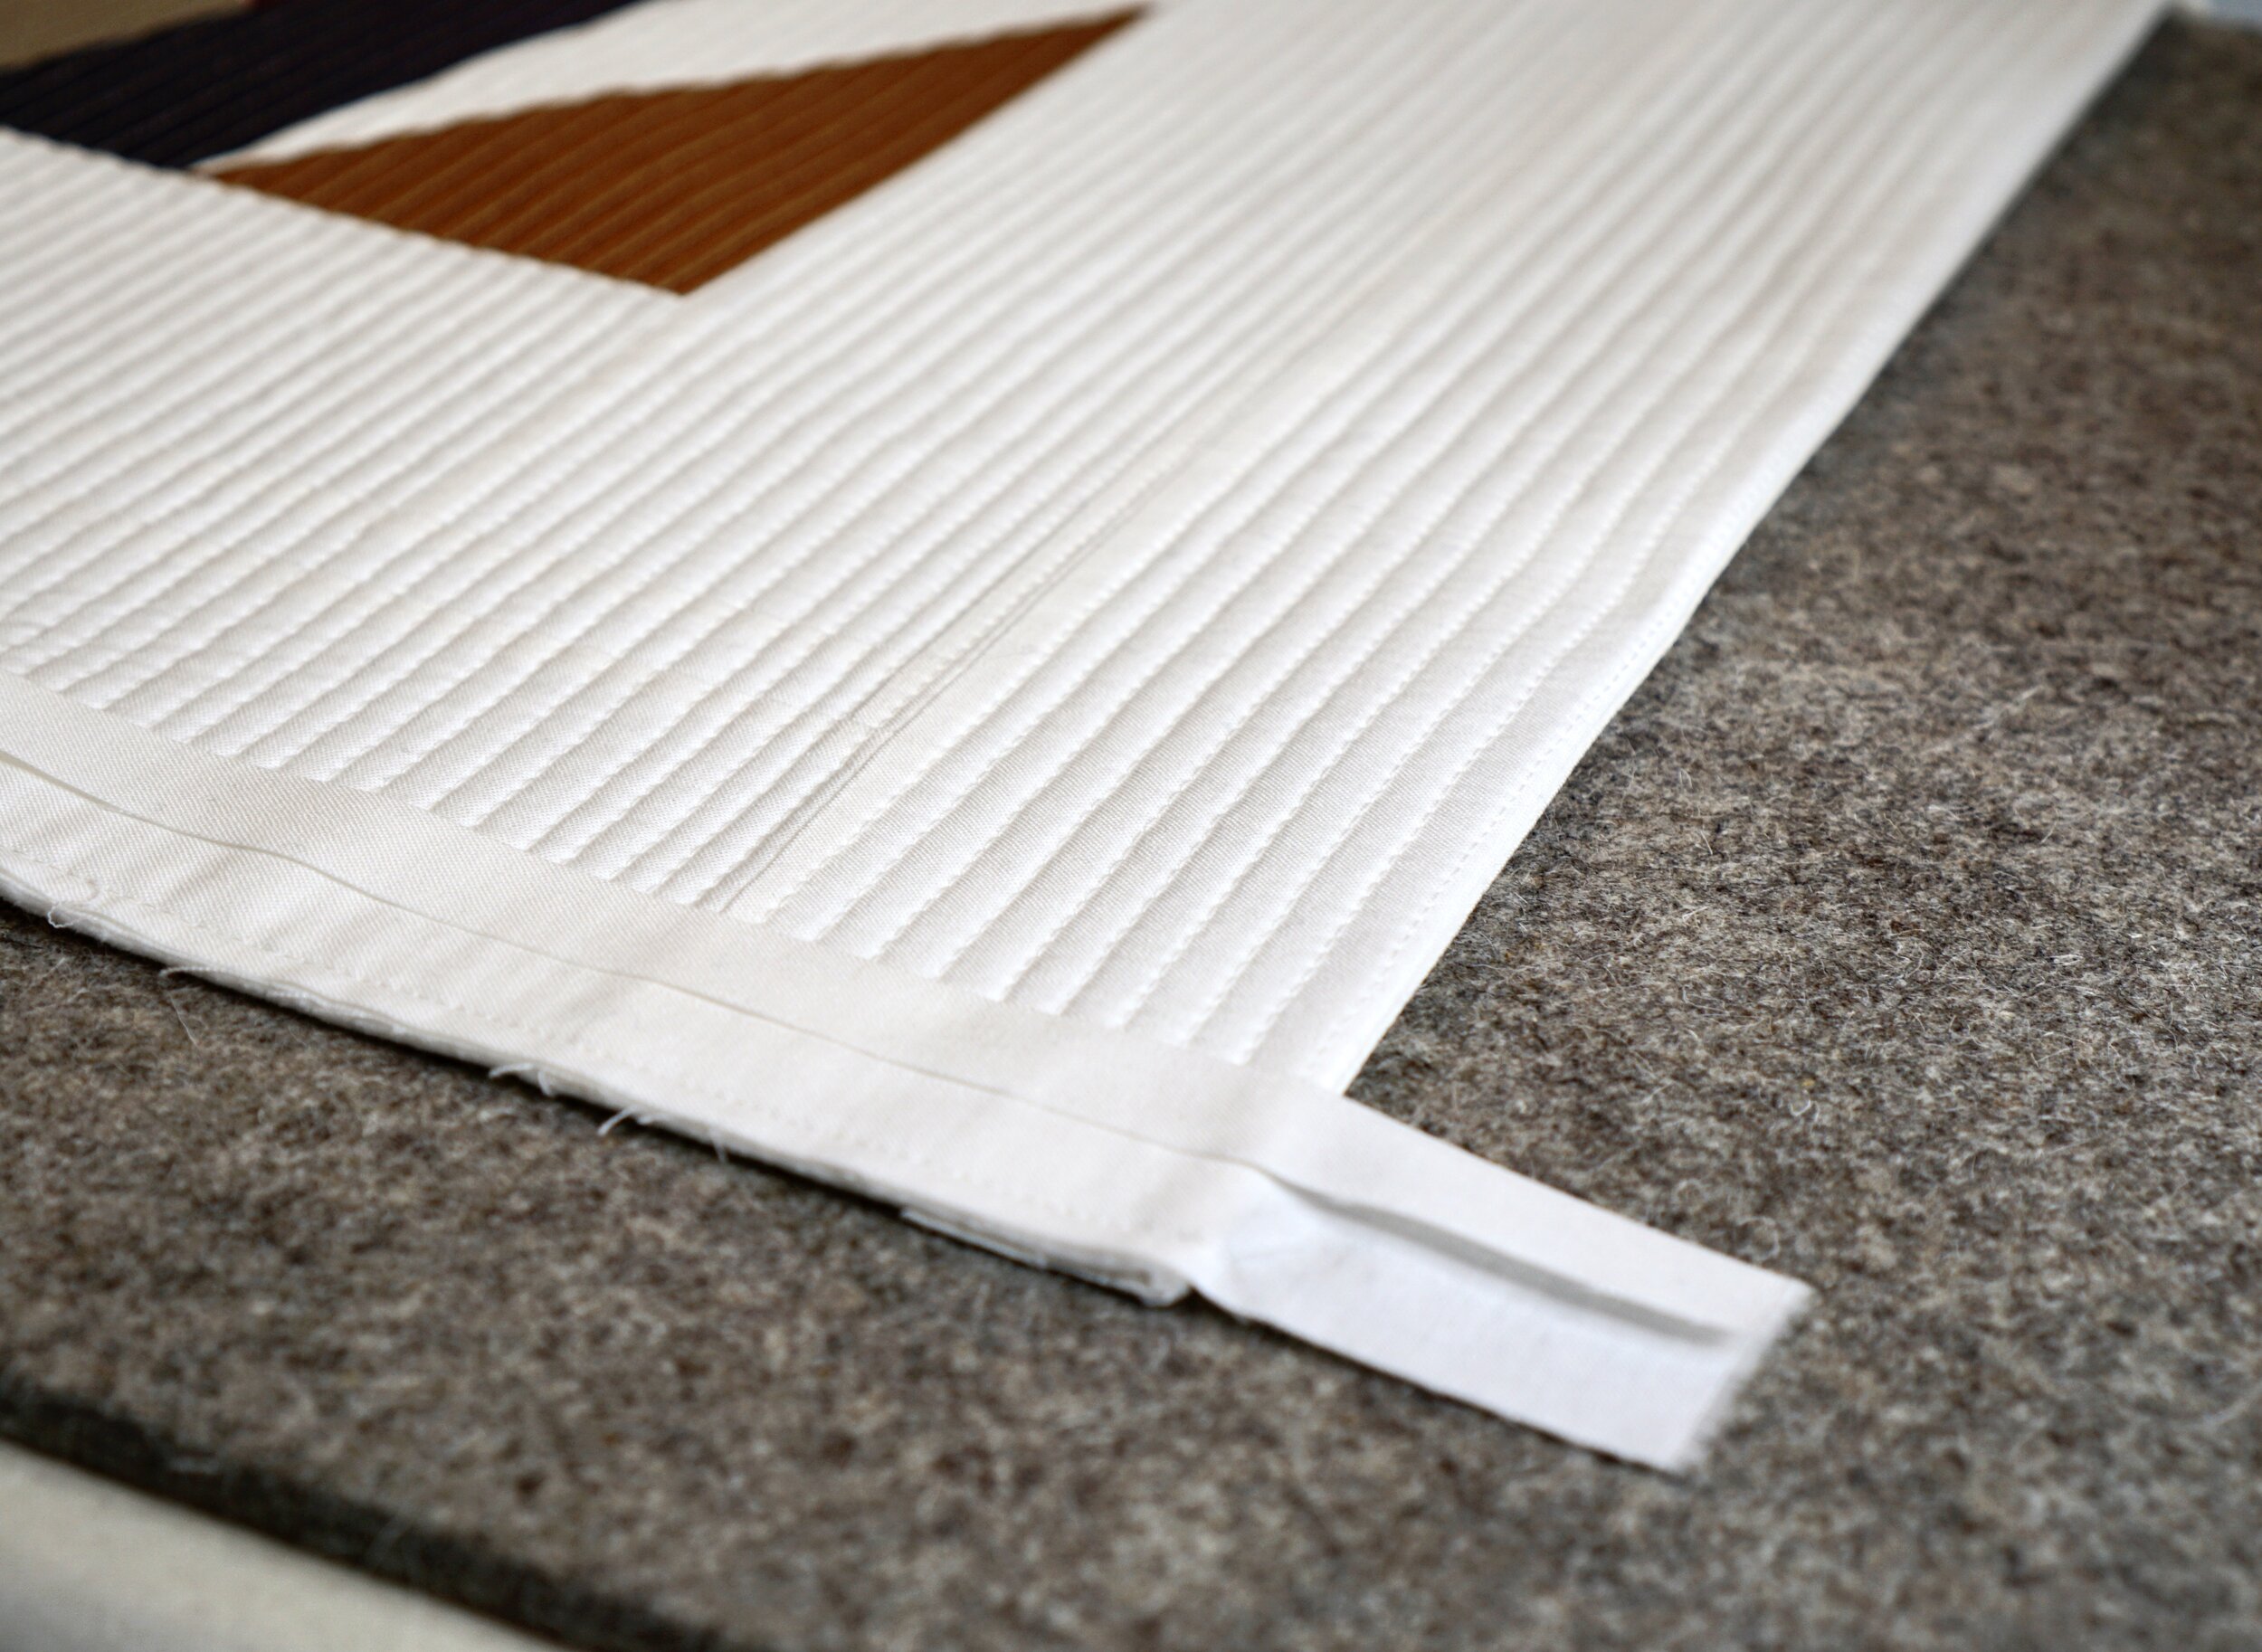
Step 10 - See below for a picture of your side facing strip attached with the tail. You can see the facing strip for the top/bottom that is already pressed to the back of the quilt. (You can see here I really do backstitch!)

Another view of Step 10. You can see both facing strips if you look closely; the facing strip tucked behind the quilt on the top/bottom, and the side facing strip that has just been attached.
Step 11 - Press the side strips as you did in Step 5.

Step 12 - Attach your stitch in the ditch foot and repeat step 6 for the side facing strips. Once complete, fold and iron your side facing strips to the back of the quilt. It should resemble the photo below. Do not trim the facing strip tails!

Step 13 - Fold the tail even with the edge of your quilt. You might have to manipulate this a little to get everything to lay flat.

Step 14 - Pin in place. I use glass head pins. This way, I can pin, iron over the pins, and adjust pins if necessary. Test your pins with your iron on scrap fabric before you do this!
Step 15 - Use binding clips (or pins) and hand stitch your facing in place. I use a slip stitch about every 1/3 inch.

You’re done! Huzzah!!
Angular No. 1 (below) is the quilt used as the example for this facing tutorial.
